
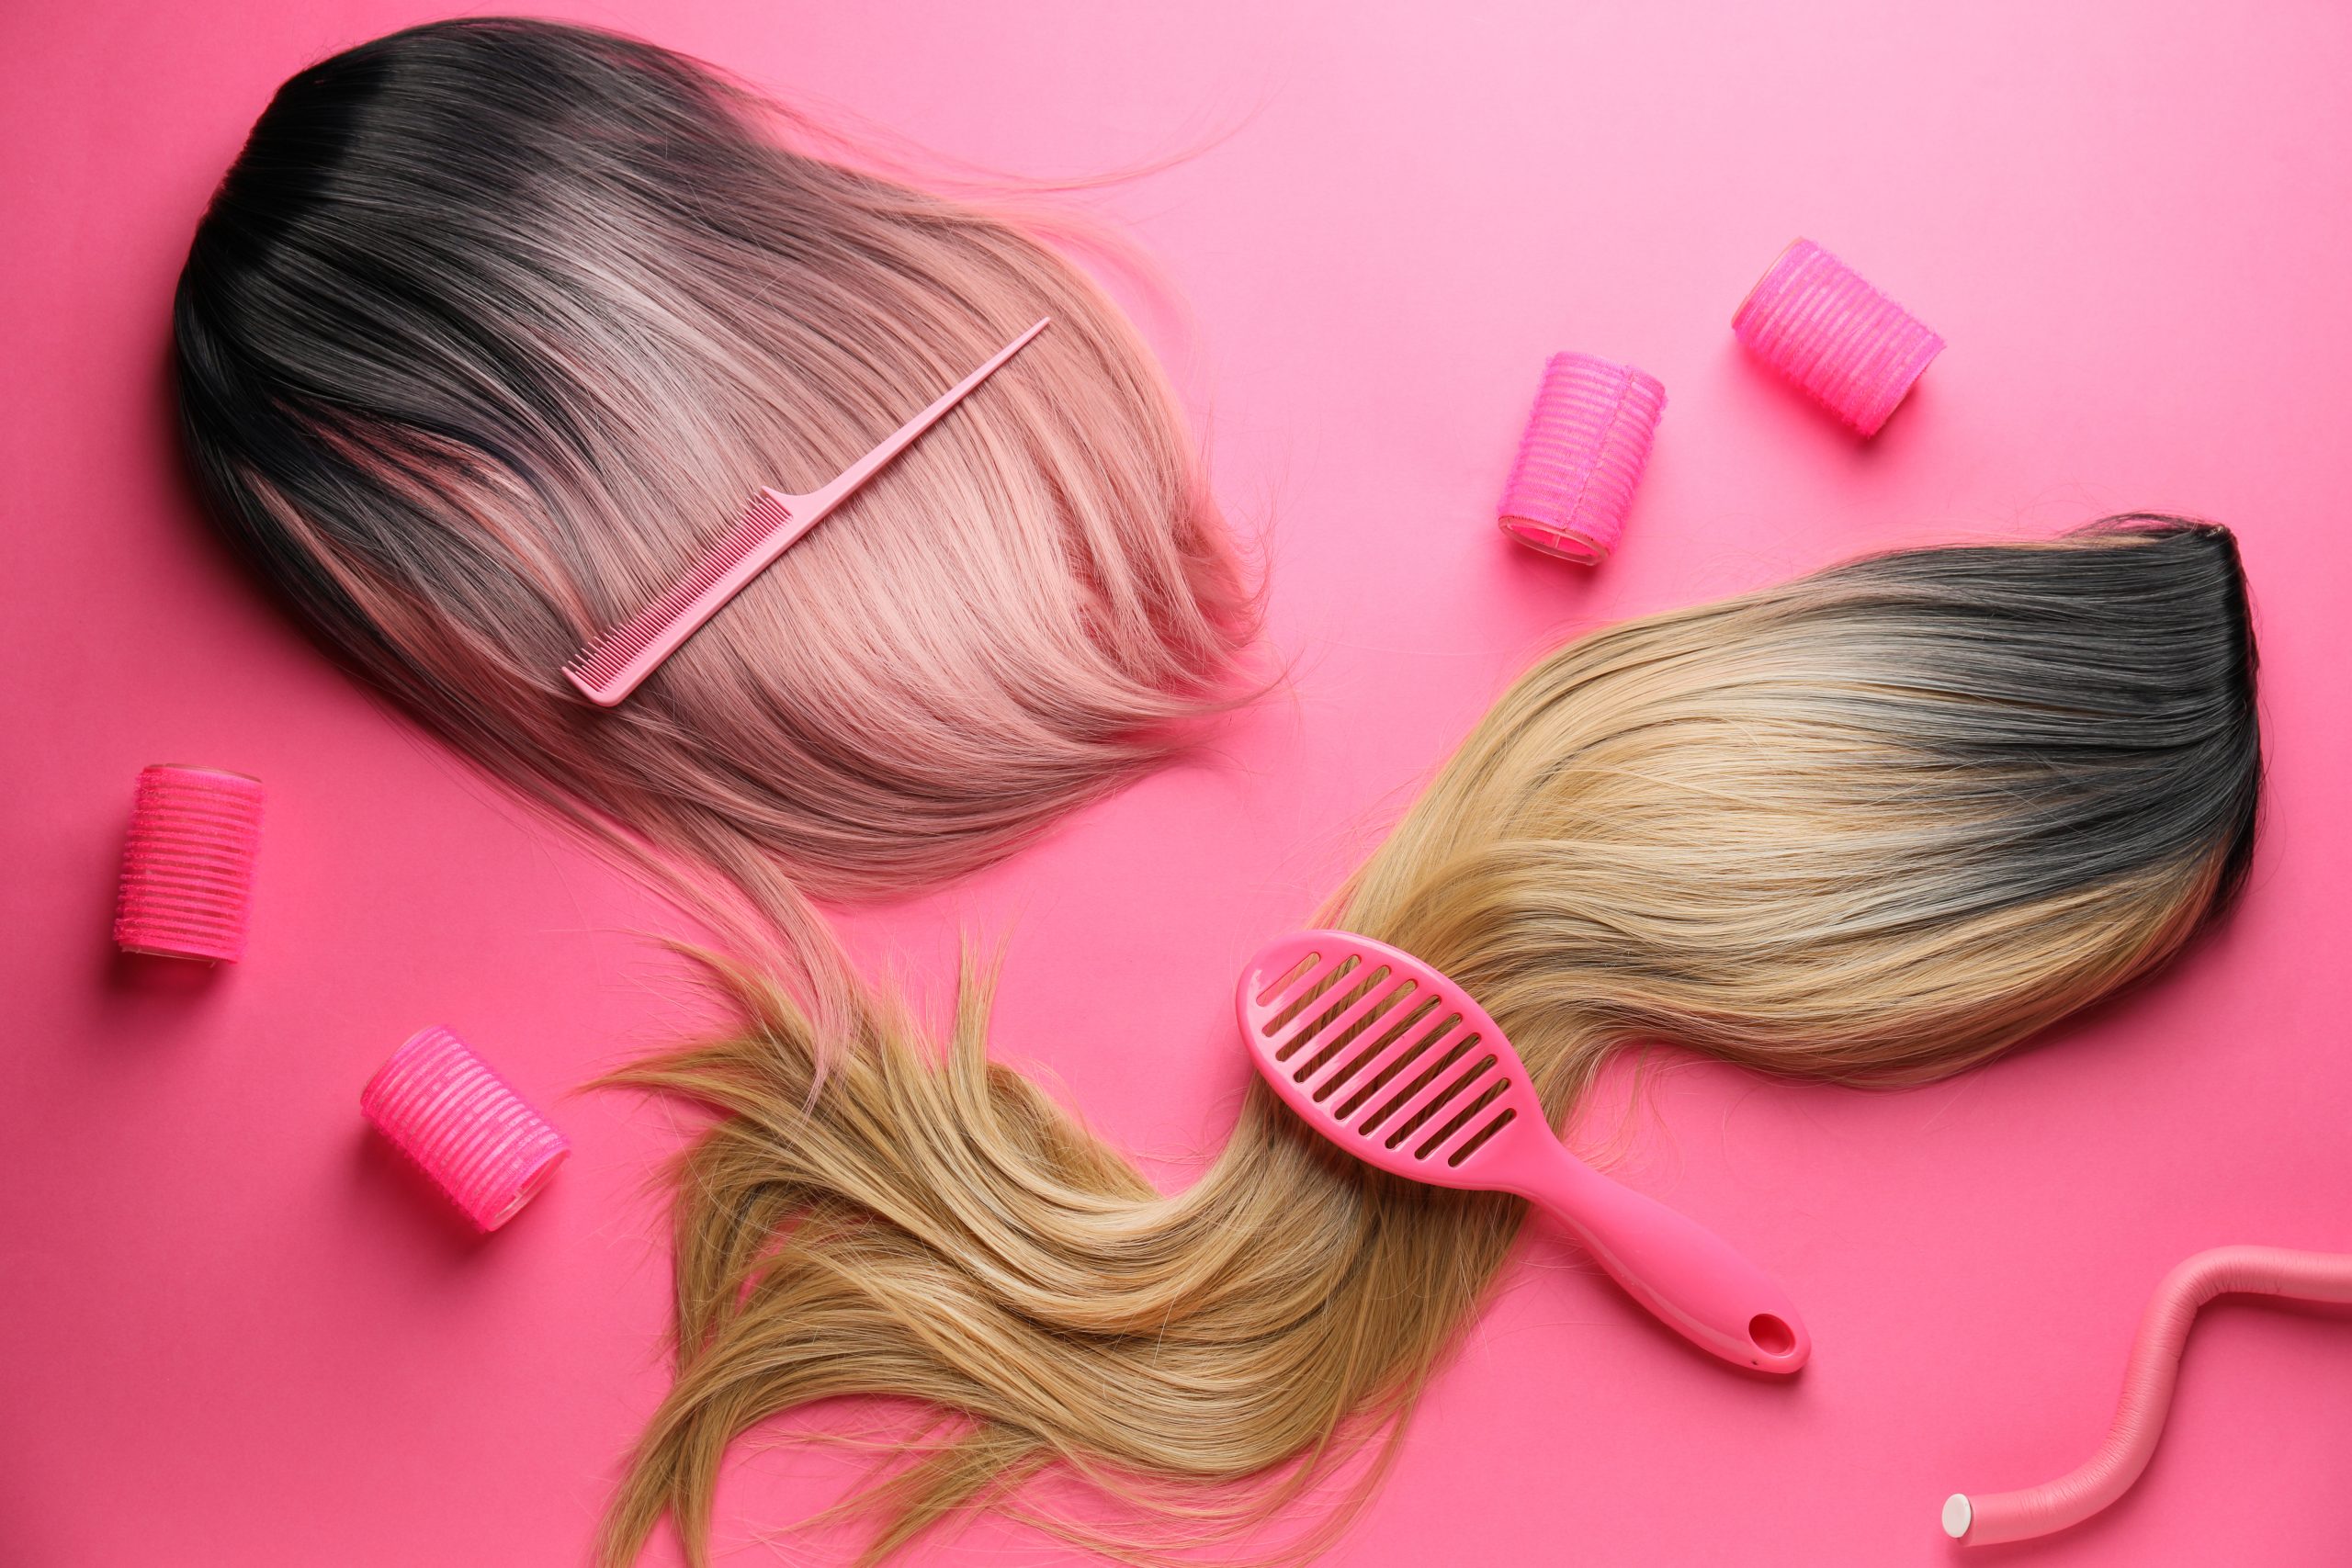
Welcome to the ultimate guide for wig dyeing! If you're tired of plain, boring wigs and want to add some personality to your hair game, then this is the blog post for you. In this tutorial, we'll be covering everything you need to know about wig dyeing - from the different types of dyes available in the market to professional tips and tricks for achieving the perfect color. We've also included step-by-step instructions to help you achieve your desired look, as well as some common mistakes to avoid along the way. But that's not all - we've also consulted with industry professionals to bring you insider tips and tricks for achieving that ideal color. From choosing the right dye for your wig to applying it correctly, we've got you covered.
So if you're ready to transform your wig into a work of art, sit back, relax, and get ready to dive into the world of wig dyeing!
Not all wigs can be safely dyed, and it's important to check the wig's label or consult with the manufacturer before attempting to dye it. However, there are some types of wigs that can generally be dyed, such as human hair wigs and some synthetic wigs made from heat-resistant fibers. Human hair wigs can be dyed using regular hair dye, while synthetic wigs may require special fabric dyes formulated for synthetic materials. It's important to follow the directions carefully and perform a patch test before dyeing the entire wig to avoid damaging the wig or causing an adverse reaction.
To dye a wig, there are several types of dyes to choose from depending on the material of the wig. Acid dyes use acid as a fixing agent and work well on synthetic and human hair wigs, while basic dyes work best on protein fibers like human hair and come in brighter shades. Direct dyes are easy to use and can be applied without additional chemicals, making them ideal for natural hair, while vegetable dyes made from natural ingredients give a subtle, eco-friendly look. It's important to follow the manufacturer's instructions and have a professional stylist do the dying to ensure the best outcome.
Before dyeing your wig, there are several factors to consider to ensure the best outcome. First, you should consider the current color of the wig and how it will affect the final result. If the wig is already colored, the new dye may not show up as vibrantly as expected. Second, you should consider the condition of the wig. Dyeing a damaged wig can further damage it, so it's important to make sure the wig is in good condition before attempting to dye it. Third, you should consider the desired outcome and whether the dye will achieve it. It's recommended to have a professional stylist dye the wig to ensure the best results. By considering these factors, you can increase the chances of achieving the desired outcome when dyeing your wig.
Related: How To Bring Your Aged Wigs Back To Life In Simple Ways?
How To Style Your Wig Like A Pro: Step-By-Step Tutorials
Before dyeing your wig, it's essential to prepare it properly. Here's what you need to do:
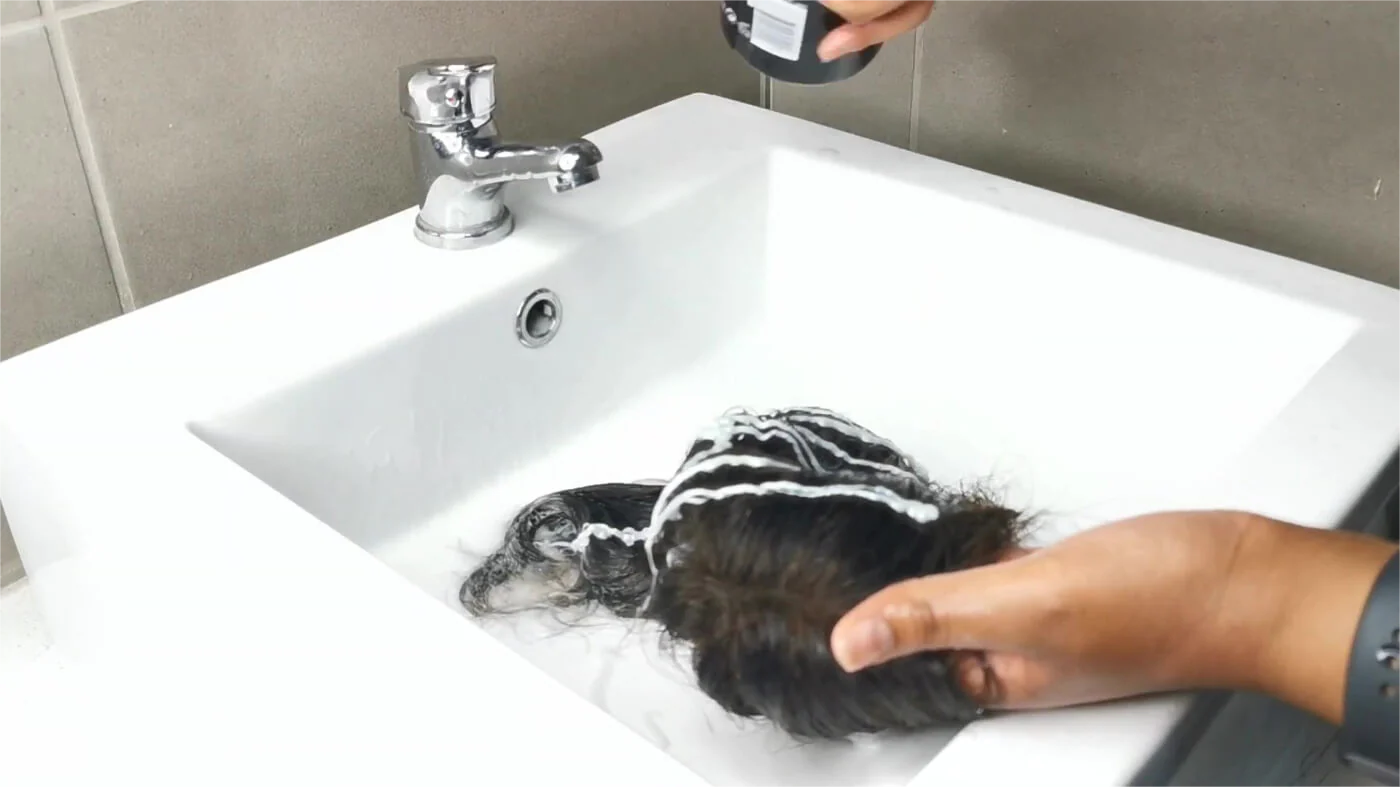
To wash a wig, start by detangling it with a wide-tooth comb or brush. Next, prepare a basin with lukewarm water and a small amount of shampoo designed for wigs and soak the wig in the water for 5-10 minutes. After that, rinse the wig thoroughly with lukewarm water and apply a small amount of conditioner, distributing it evenly throughout the strands before leaving it on for a few minutes. Rinse out the conditioner with lukewarm water and gently squeeze out any excess water from the wig before patting it dry with a towel. Finally, place the wig on a wig stand or wig head. Let it dry completely before proceeding.
Related: How To Shower With A Wig On In The Right Way?
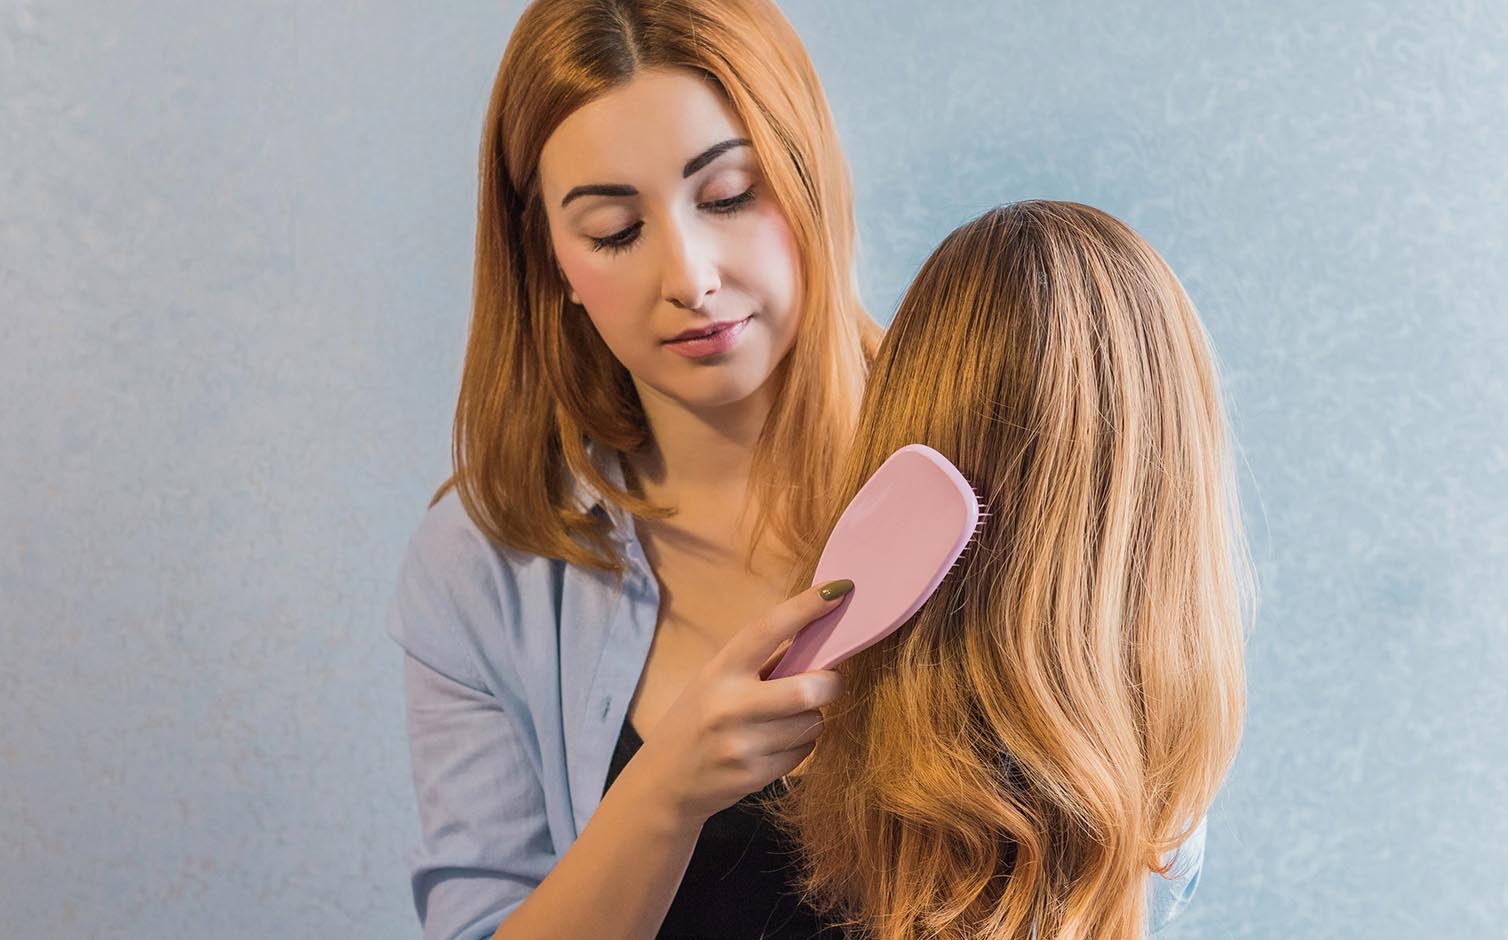
Detangling a wig requires patience and gentle handling to prevent damage or breakage. Once your wig is dry, detangle it carefully using a wide-tooth comb or brush. To start, gently comb the ends of the hair with a wide-tooth comb or brush to remove any knots or tangles. Then, work your way up towards the roots of the hair, using small sections at a time and gently combing through each section until it is detangled. If you encounter a stubborn knot, be patient and use your fingers to gently break it apart before continuing to comb through the section. Avoid pulling or tugging on the wig while detangling to avoid damaging the hair. Once all sections are detangled, consider applying a leave-in conditioner or detangling spray to keep the hair smooth and manageable.
Related: How To Bring Your Aged Wigs Back To Life In Simple Ways?

Tthere are a few things you can do. First, apply petroleum jelly or a similar protective product along your hairline, ears, and neck to create a barrier that will prevent the dye from staining your skin. You can also use a disposable shower cap or plastic wrap to cover these areas after applying the protective product. Another option is to use a hair color applicator bottle with a precision tip to apply the dye only where you want it, minimizing contact with your scalp. Additionally, you can use a wide-tooth comb to create small sections of hair and apply the dye to each section separately, rather than trying to apply it all at once. Finally, you might consider using a wig cap to cover your hair while you apply the dye. By taking these steps, you can help ensure that your scalp area stays protected from hair dye.
Now that your wig is prepared, it's time to dye it. Follow these steps:
Choosing the right dye for wigs can be a bit tricky, but there are a few important factors to consider. Firstly, it's essential to choose a dye that is specifically designed for use on human hair, as using regular hair dye can damage the wig fibers and alter its texture. Additionally, you should consider the color of the wig and the desired outcome - if you're looking to darken the wig, a semi-permanent dye may be sufficient, while a permanent dye may be needed for more dramatic changes. Avoid using box dyes, as they may contain harsh chemicals that can damage the wig fibers. It's also important to test the dye on a small section of the wig before applying it all over, to ensure that the color is even and the wig doesn't become damaged or discolored.
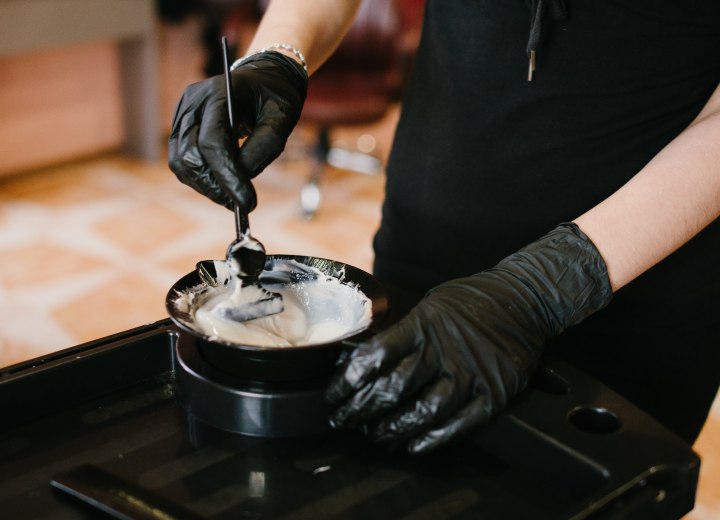
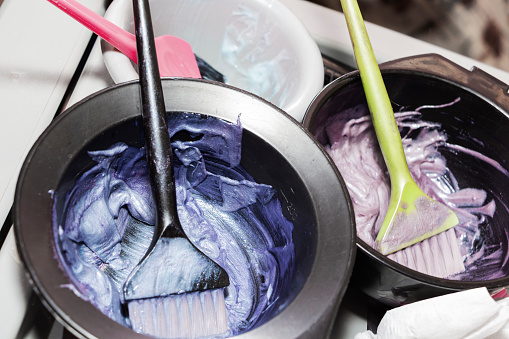
To mix hair dye properly for wigs, start by carefully reading the instructions on the package. Choose the appropriate developer strength based on your desired level of lift and natural hair color. Mix the hair dye and developer in a plastic bowl using a tint brush until they are thoroughly combined, following the ratio specified in the instructions. Wear gloves to prevent staining your hands. Before applying the dye to your entire wig, do a patch test on a small section of hair to check for any allergic reactions or adverse effects.
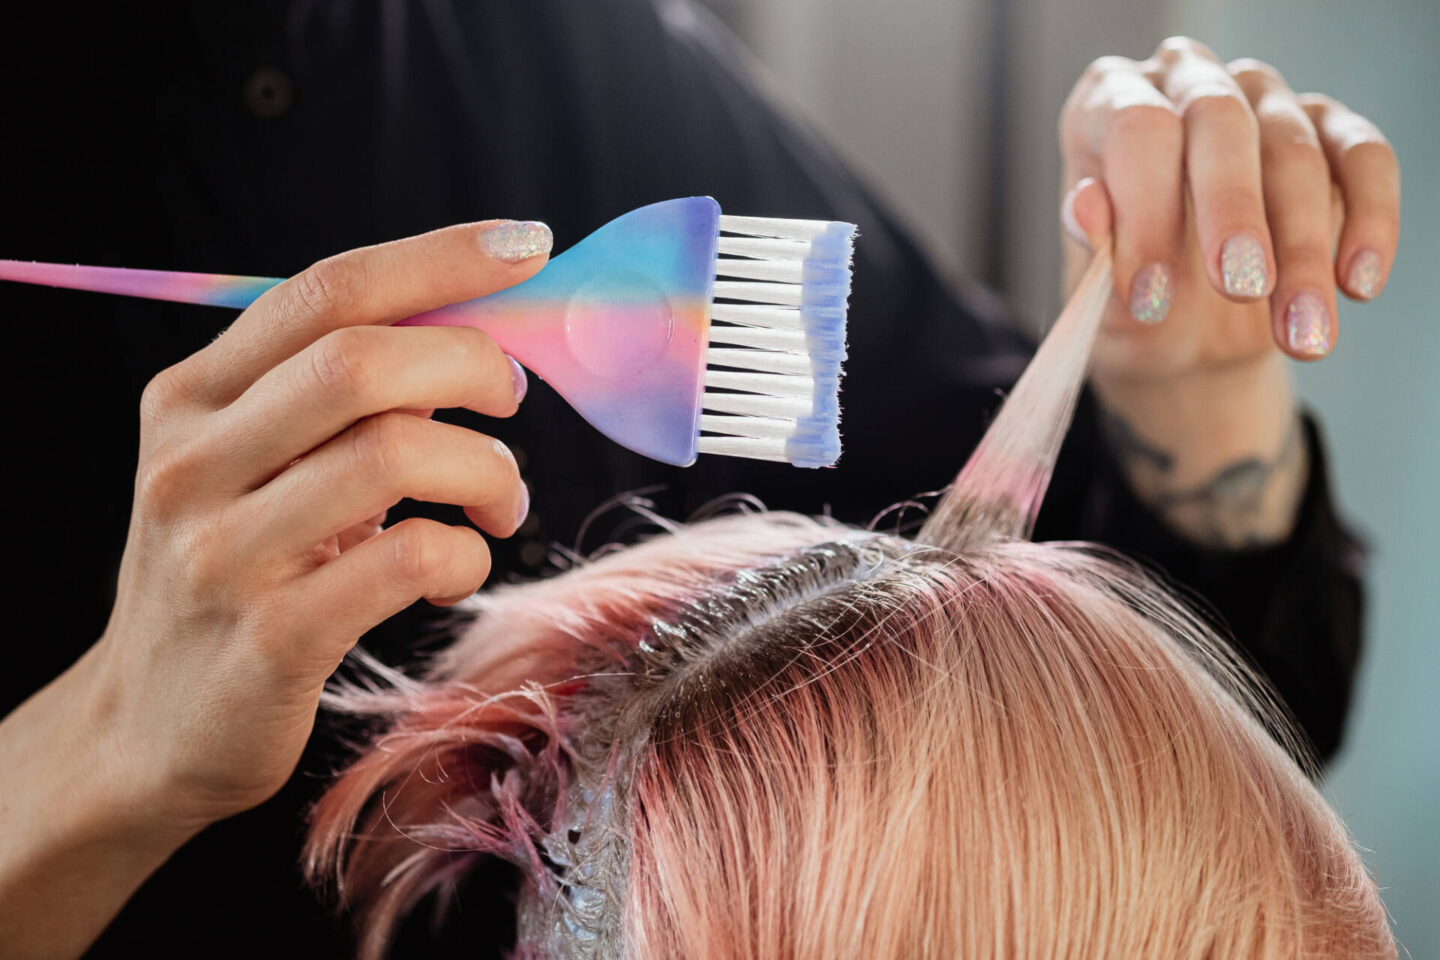
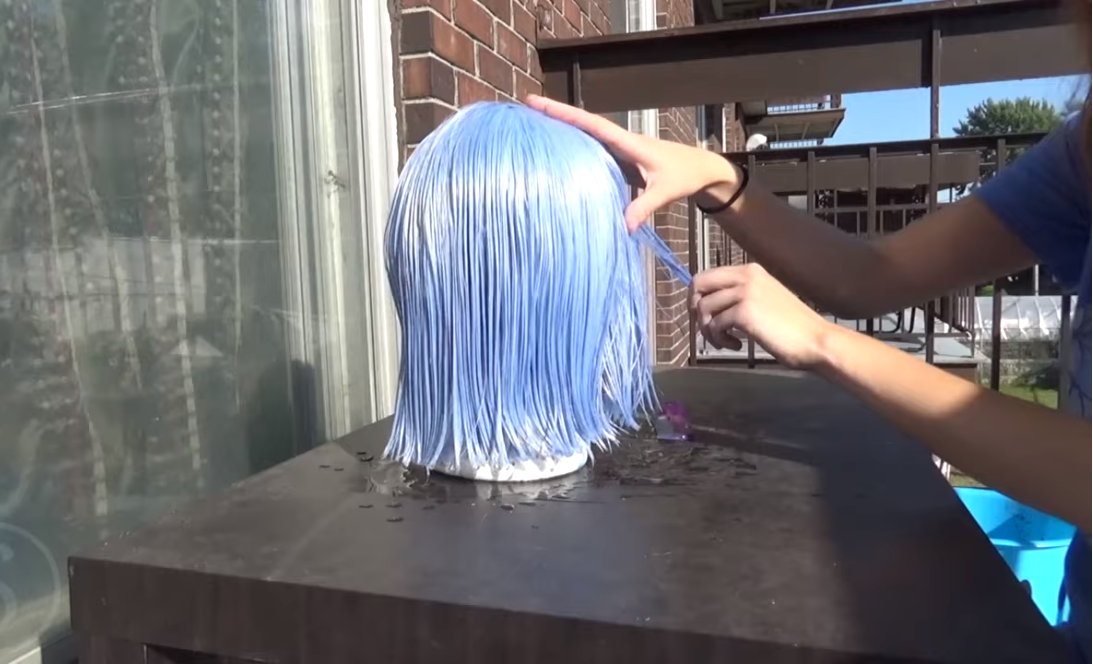
Once the wig is dry, you'll want to secure it to a mannequin head or wig stand to keep it steady while you apply the dye. The stand should be sturdy enough to support the weight of the wig without tipping over. You may want to cover the stand with plastic wrap or a towel to protect it from any stray dye. Using a brush or applicator, apply the hair dye to the wig in small sections,from roots to ends. Start at the nape of the neck and work your way up to the crown and front of the wig. Be sure to saturate each section with the dye, taking care not to miss any spots. Use a wide-tooth comb to distribute the dye evenly and remove any tangles.
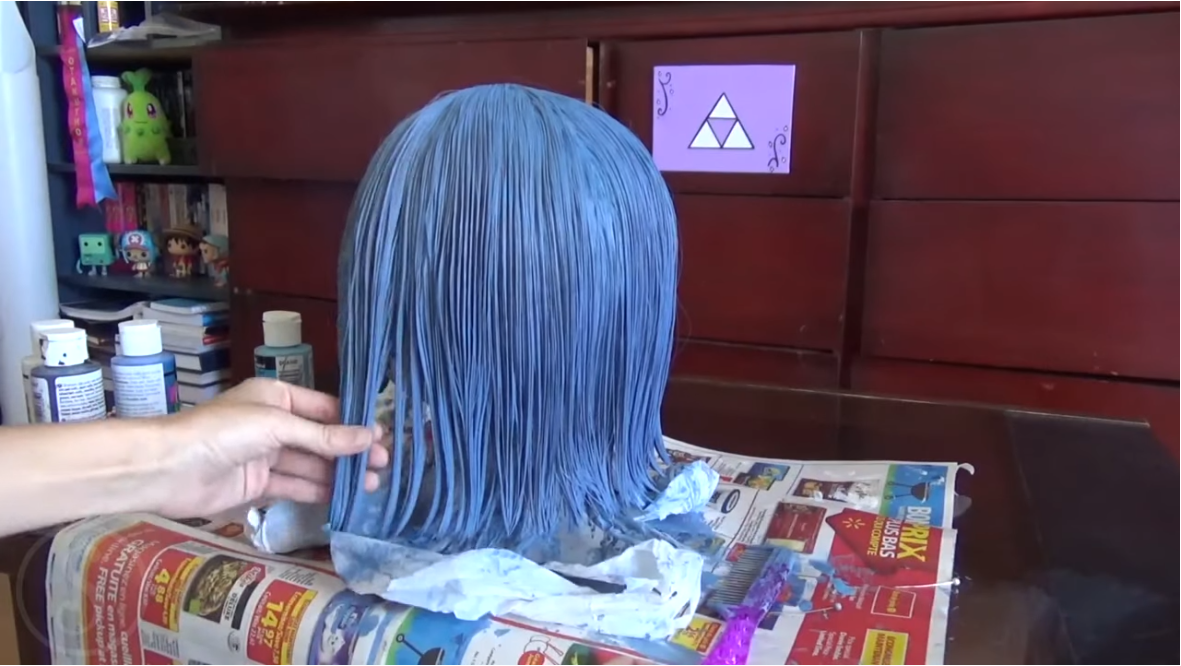
If you have just dyed your wig, it is important to wait for the dye to set properly before rinsing it off. Here are some general guidelines to follow. Check the instructions on your hair dye package for recommended waiting times. Waiting times can vary depending on the brand and type of dye you're using. As a general rule, most hair dyes need to set for around 30 minutes to an hour. However, if you're using a semi-permanent or temporary dye, you may only need to wait 10-15 minutes. Once the recommended waiting time has passed, gently rinse the wig with warm water until the water runs clear. Do not use hot water, as this can damage the hair fibers. Use a mild shampoo and conditioner specifically formulated for wigs and follow the manufacturer's instructions for washing and conditioning. Allow the wig to air dry naturally on a wig stand or mannequin head. Do not use a blow dryer, as this can damage the hair fibers. Following these steps should help ensure that your wig dye sets properly and lasts as long as possible.
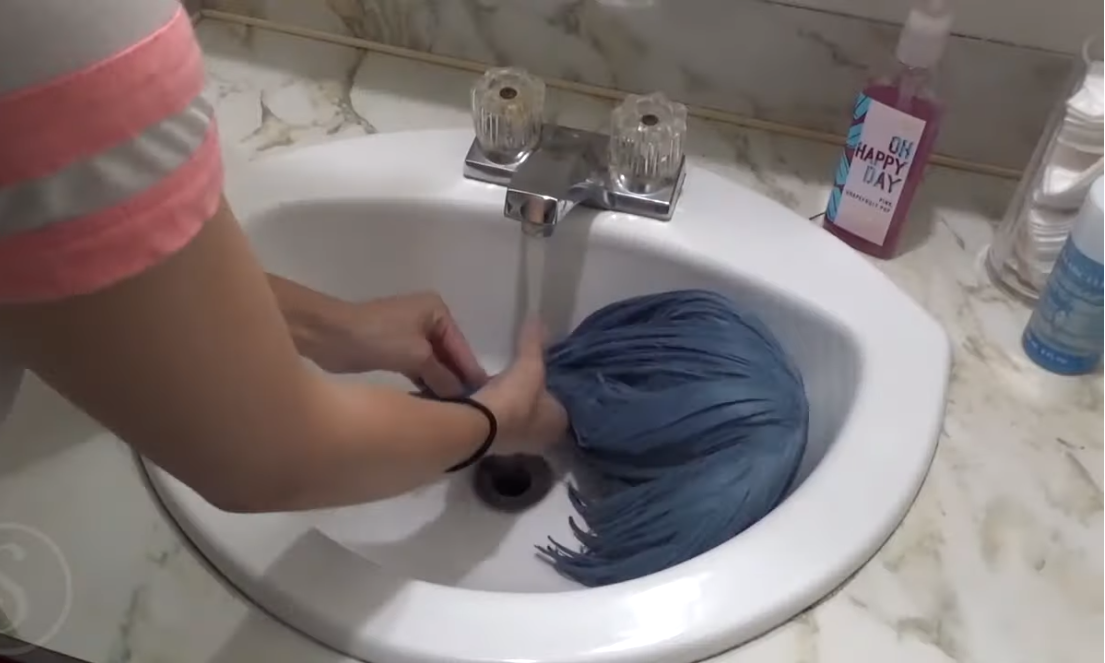
To rinse the wig after letting the dye sit, start by filling a basin or sink with cool water and adding a small amount of mild shampoo. Gently swish the wig in the soapy water for about 1-2 minutes, taking care not to rub or scrub too vigorously as this can damage the hair fibers. Drain the soapy water and refill the basin with clean, cool water. Rinse the wig thoroughly until all traces of shampoo and dye are removed. You may need to repeat this step a few times until the water runs clear. Once you have finished rinsing, gently squeeze out any excess water from the wig, being careful not to wring or twist the hair. Place the wig on a wig stand or mannequin head and allow it to air dry completely before styling. Avoid using heat to dry the wig, as this can damage the fibers.
After rinsing the wig, gently squeeze out any excess water and pat it dry with a soft towel. Do not rub or wring the wig. Next, place the wig on a clean, dry towel and blot it gently to remove any remaining moisture. It is important to avoid using heat when drying the wig, as this can damage the fibers. Instead, allow the wig to air dry completely before styling or wearing. You can speed up the drying process by placing the wig on a wig stand or mannequin head in a well-ventilated area away from direct sunlight. Avoid brushing or combing the wig while it is wet, as this can also cause damage to the fibers. Once the wig is fully dry, you can style it as desired using a wig brush or comb. It is recommended to store the wig on a wig stand or mannequin head when not in use to help maintain its shape and prevent tangling.
Here are some professional tricks and tips to help you achieve the ideal color when dyeing your wigs.
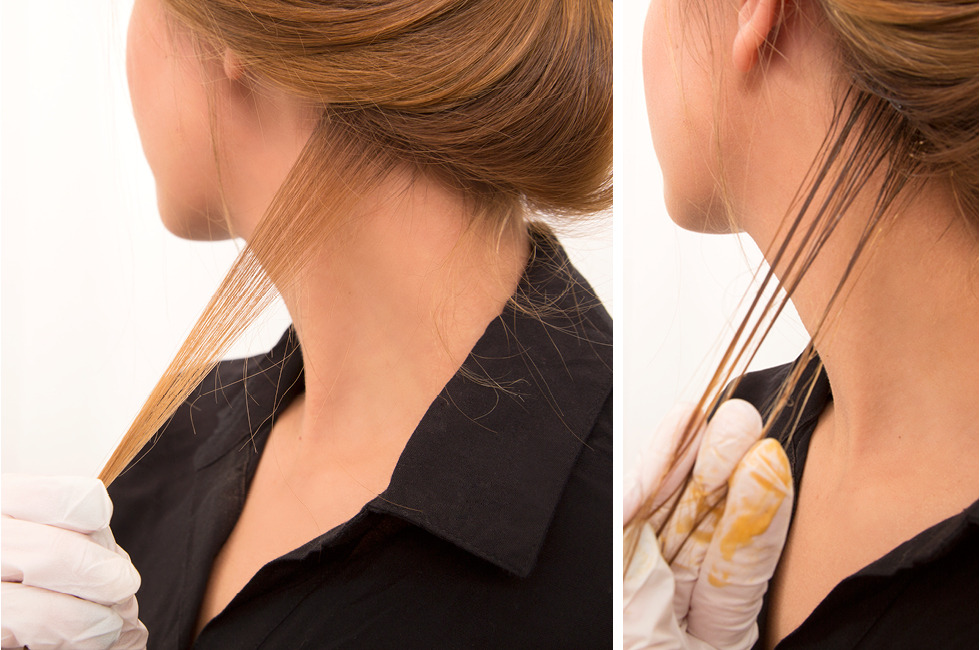
Before dyeing the entire wig, test the dye on a small strand of hair to see how it turns out. This will help you determine the best dyeing time and the amount of dye required.
In summary, testing the wig dye on a small strand is an essential step in the dyeing process to ensure the desired result without damaging or altering the entire wig. Be sure to choose a small and inconspicuous section of the wig, mix the dye following the instructions on the packaging, apply a small amount of the dye mixture evenly, wait for the recommended waiting time, rinse thoroughly with cool water, and check the color before proceeding with full dye job.
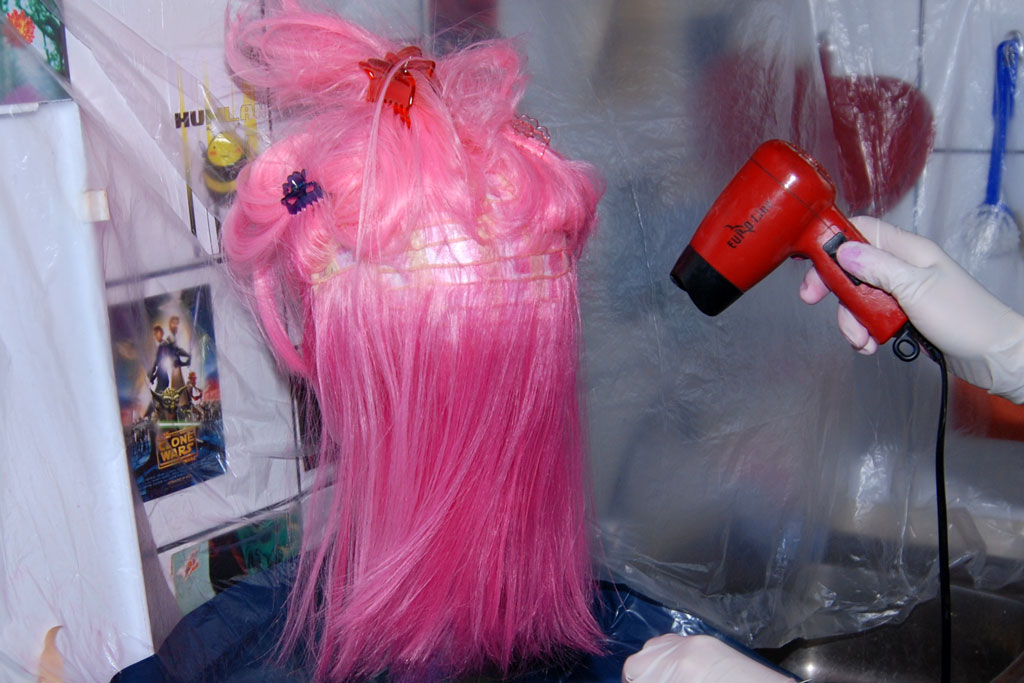
Using heat to help a wig dye set is a common technique that can be effective in helping the color adhere to the hair fibers. However, it's important to use caution when applying heat to a wig as excessive temperatures can cause damage to the synthetic fibers.
By following these tips, you can safely use heat to help your wig dye set without causing damage to the synthetic fibers. Remember to always follow the manufacturer's instructions and use caution when applying heat to any type of wig.

Overprocessing can damage the hair fibers of a wig and cause it to become brittle and prone to breakage. Follow the manufacturer's instructions carefully. Here are some tips to help you avoid overprocessing your wig when dying it.
By following these steps carefully, you can ensure that your wig stays in good condition and looks great after dyeing. If you're unsure about how to dye your wig yourself, consider seeking the assistance of a professional stylist who has experience working with wigs.
In conclusion, wig dyeing can be a daunting task for beginners but with the right steps and professional tricks, anyone can achieve their ideal color. Whether you're going for a bold new look or simply covering up some grays, there's no reason to settle for a less-than-perfect hue. And if all else fails, just remember this sage advice: when life gives you bad hair, dye it! With these tips and tricks in your arsenal, you'll be able to turn any wig into a stunning work of art that will make everyone green (or whichever color you choose) with envy. So go forth, fellow wig-wearers, and dye with confidence!